
Portainer
Portainer is an open-source management tool designed for containers. It offers a user-friendly, lightweight web interface that simplifies the deployment and management of Docker environments. It’s important to note that while Portainer itself does not run with root privileges, if the Docker service managed by Portainer operates with root permissions, it could potentially lead to a remote root shell vulnerability, as discussed further.
Information Gathering
Collecting Target Devices
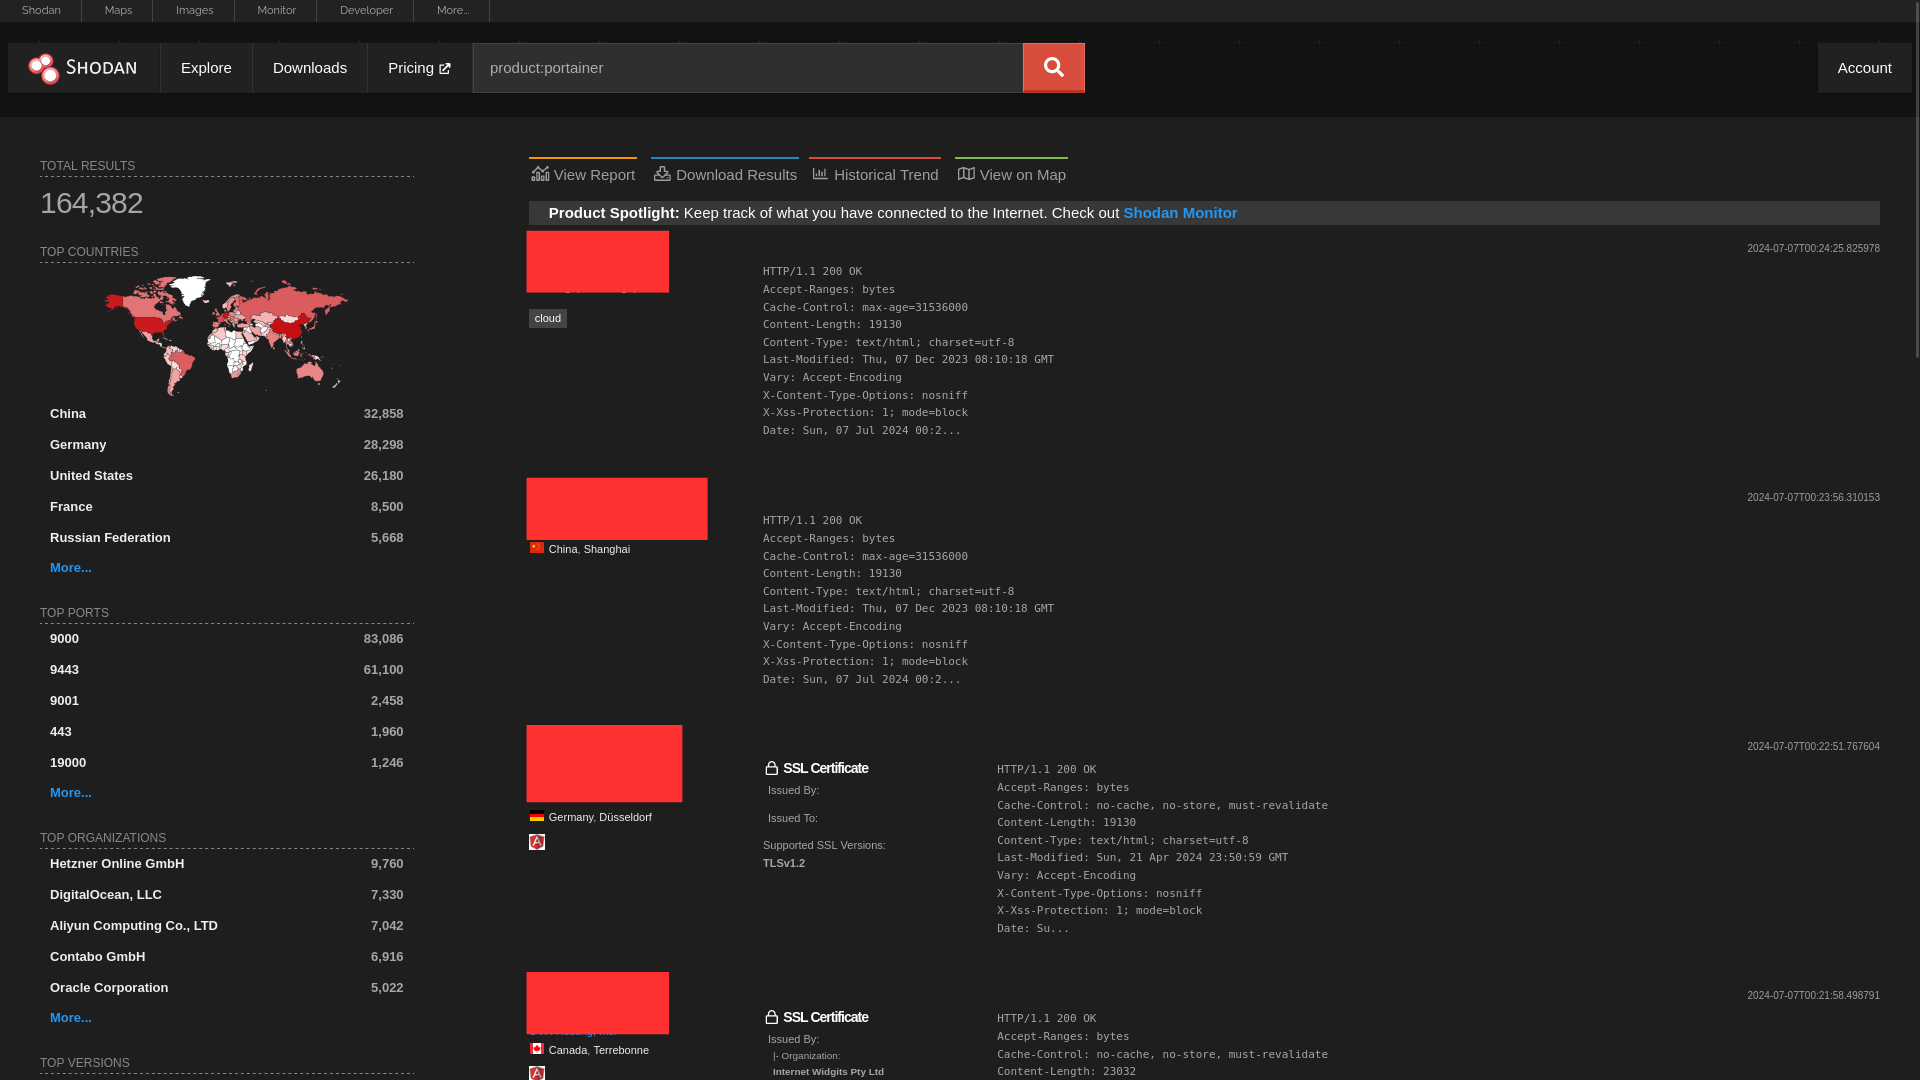
We’ll use Shodan Search Engine to Collect Target Devices.
On Shodan Search Engine search with query product:portainer, this would list out all the Devices that were identified running Portainer by Shodan.
 After setting the requeired filters, we can download the results.

The Number of Results that can be downloaded depends upon your query credits available(1 Query Credit = 100 Results)
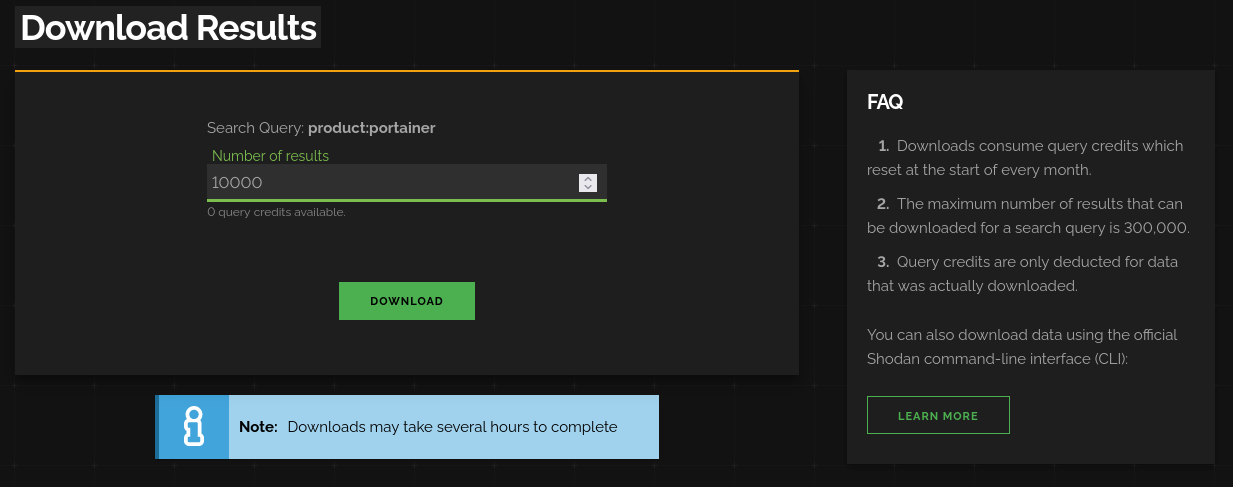
After Shodan has done compiling the data, it sends us a Mail that Data is ready for Download or we can alernatively wait on Shodan Download Page while the data is being compiled

The Download will be in the format .json.gz. Shodan provides a Command-Line Utility to Parse the data in these download files.
The utility can be installed with the command
|
|
The Targets from the downloaded file can be extracted with the following command
|
|
To save the Targets to a file, simply redirect the output of the command
|
|
I sometimes manually filterout some IPs by running a port scan, because sometimes the information provided by Shodan for some Devices is outdated.
Compiling a suitable Wordlist for Brute-Force
We can search for various Default/Weak Credentials Online. One of the best Repositories that I find for collecting Passwords for Brute-Force is SecLists.
Here, I won’t disclose more information about the wordlists that I use.
Brute Force
To access the Portainer Dashboard, we first have to find correct credentials.
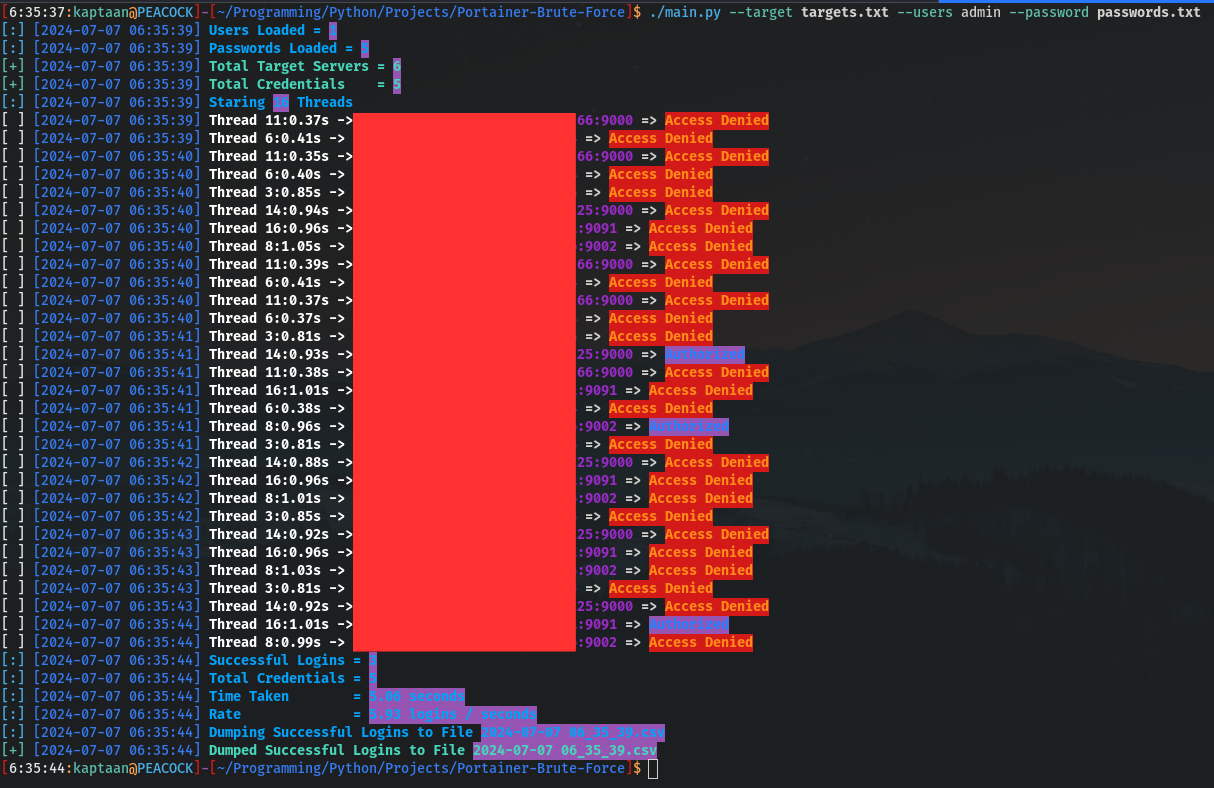
After collecting Target Devices and Passwords, we’re ready to do a Brute-Force attack on the Portainer Web Interface.
I use Gill-Singh-A, it is a Program written in Python that uses requests to brute force the Web Interface of Portainer through /api/auth endpoint and multithreading module to parallelize the brute force tasks.
I’ve attached a small example of brute force in the following picture.
Getting Remote Root Shell
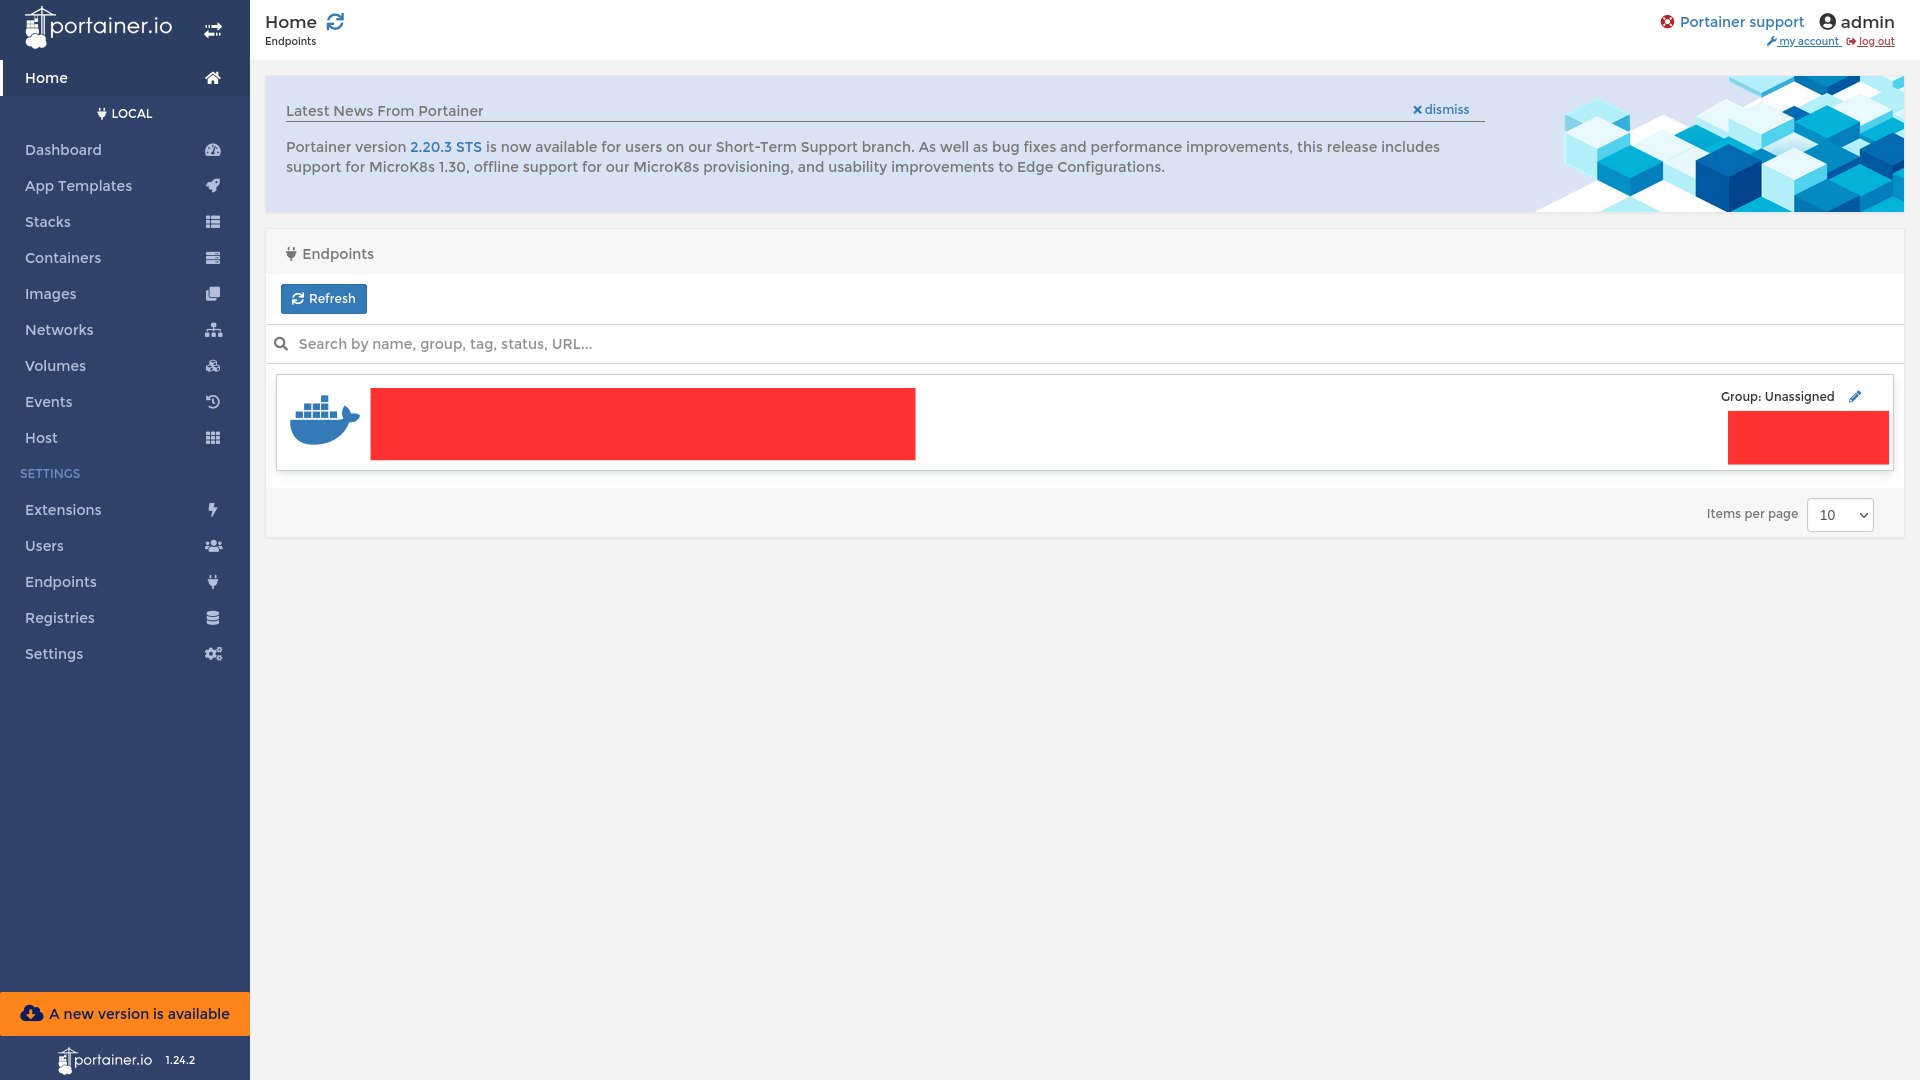
Now after getting access to the Portainer Web Interface, our job is to get a Remote Root Shell.
First, we have to go to Images and find any Linux OS Image. Here in this example we see ubuntu:latest
Next, we go to containers and click on Add Container
We name the Container as health_test :) and pull the Linux OS Image, in this case ubuntu:latest
In the command and Logging Section, we select Interactive and TTY Console.
Next we go to Volume, Click on Map Additional Volume, Click on Bind and select /host in container and / in host. This way we’ve mounted the Host Root Directory into the Docker Container and we’ll use this to get the Remote Root Shell in the upcoming setups
Next in Runtime & Resources turn Privilege Mode on.
Next in Capabilities, turn every Linux Capability on to ensure smooth operation.
Then Click on Deploy The Container.
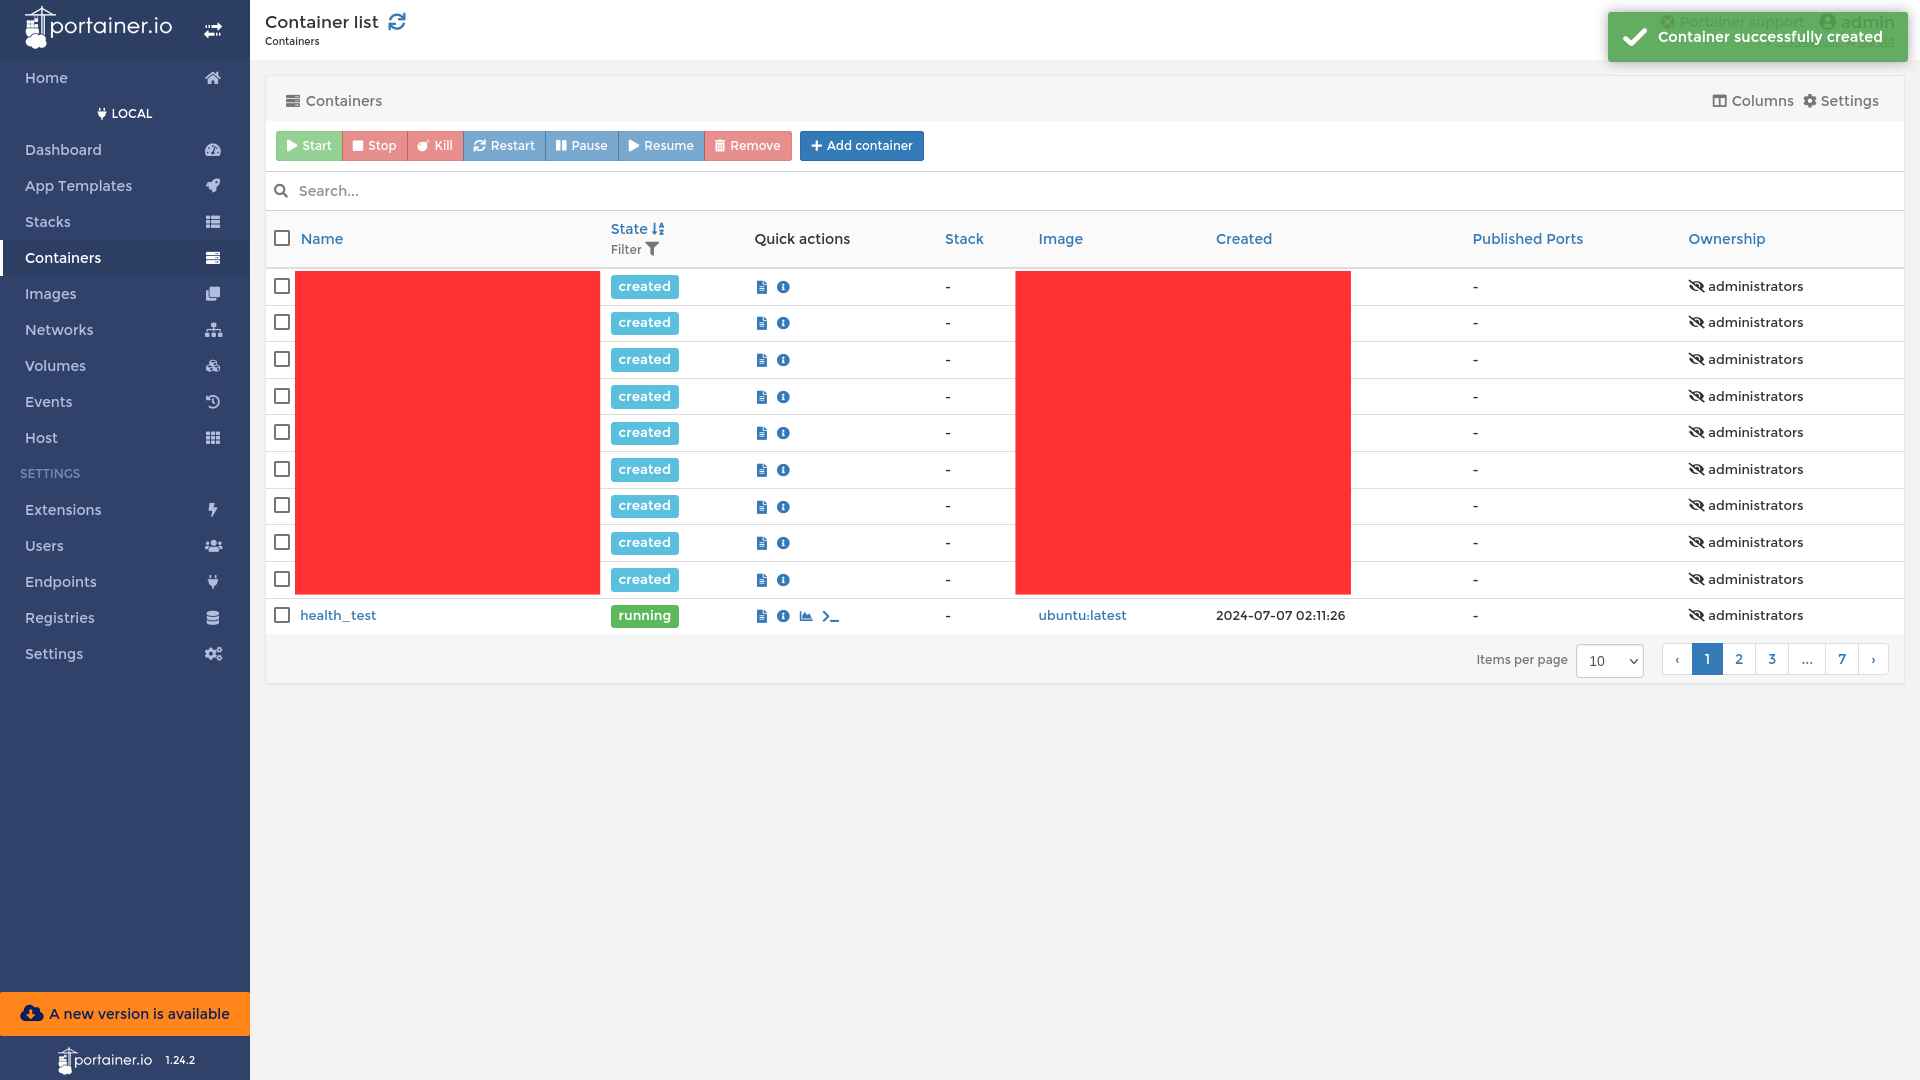
We can see our Container health_test running.
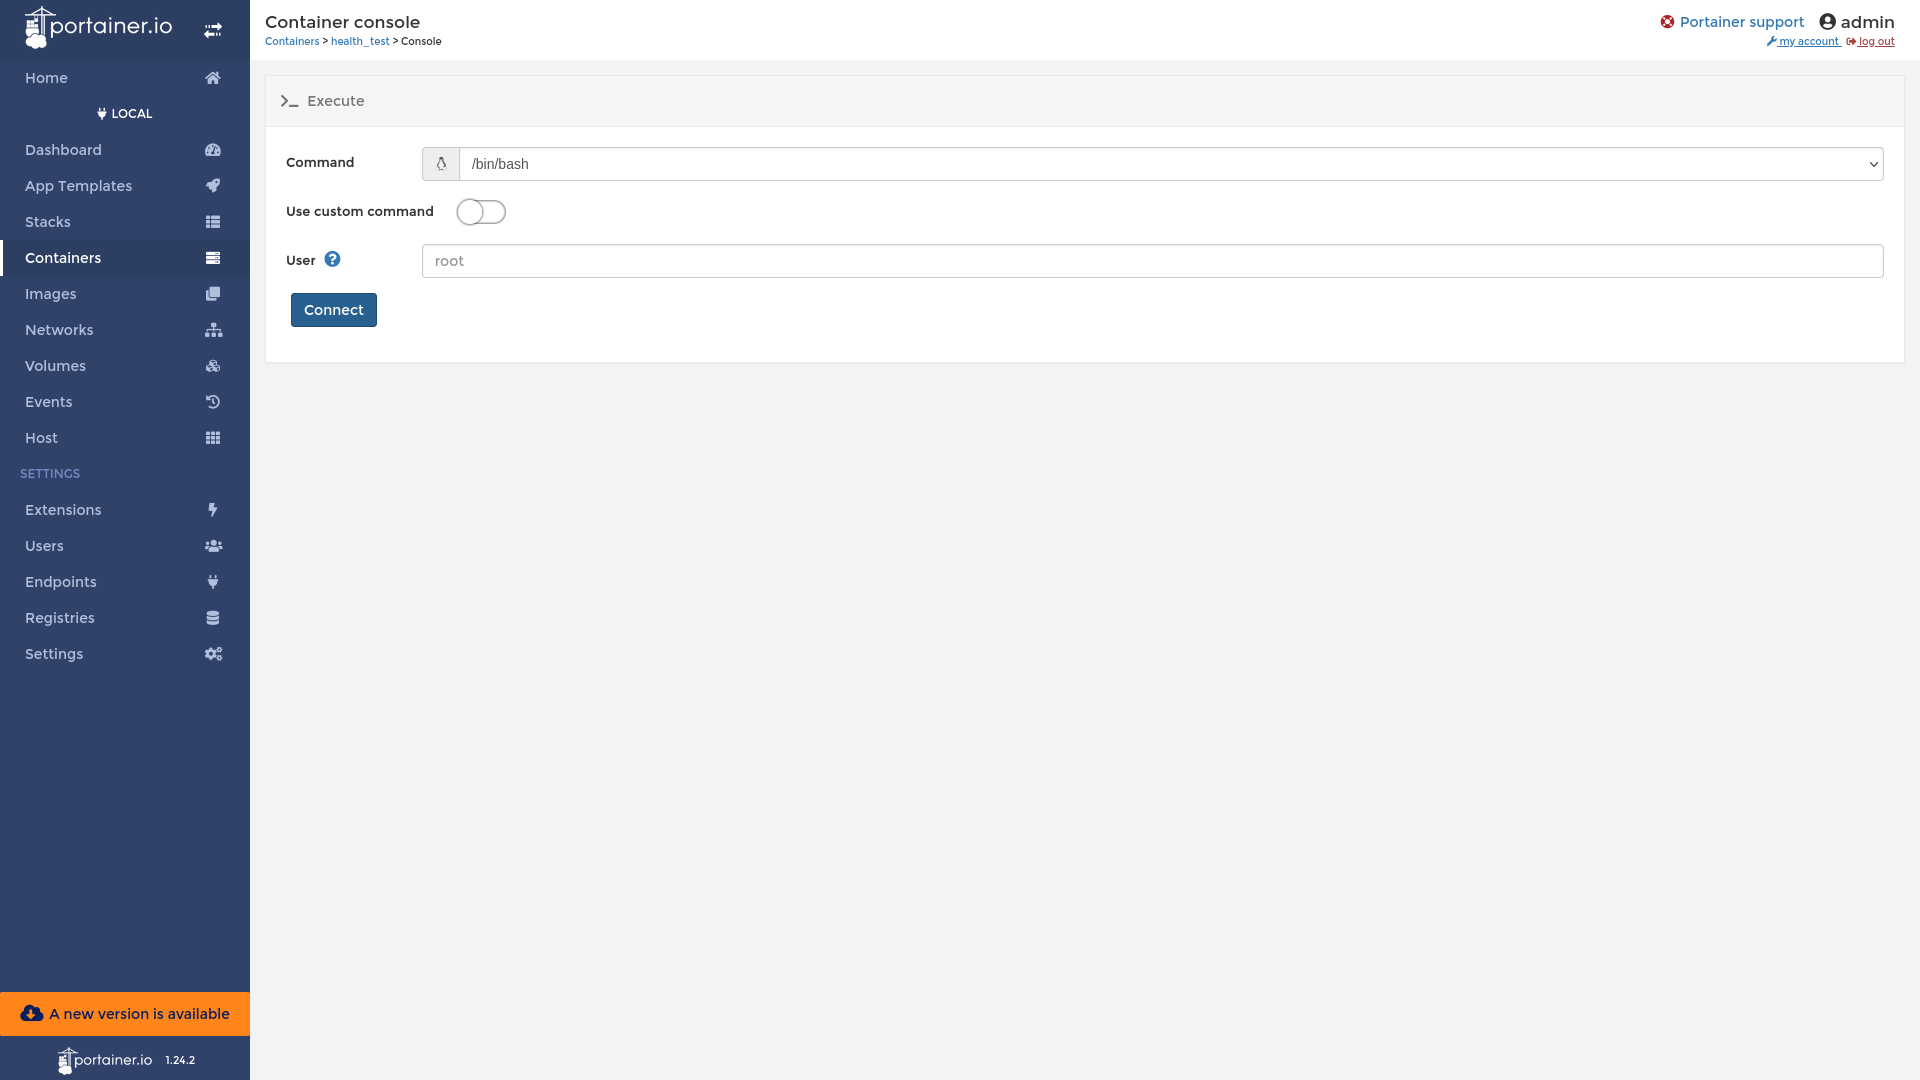
Then we click on exec console and in the Container Console connect to /bin/bash as root user.
Here, we’ve run the bash as root user in the Container
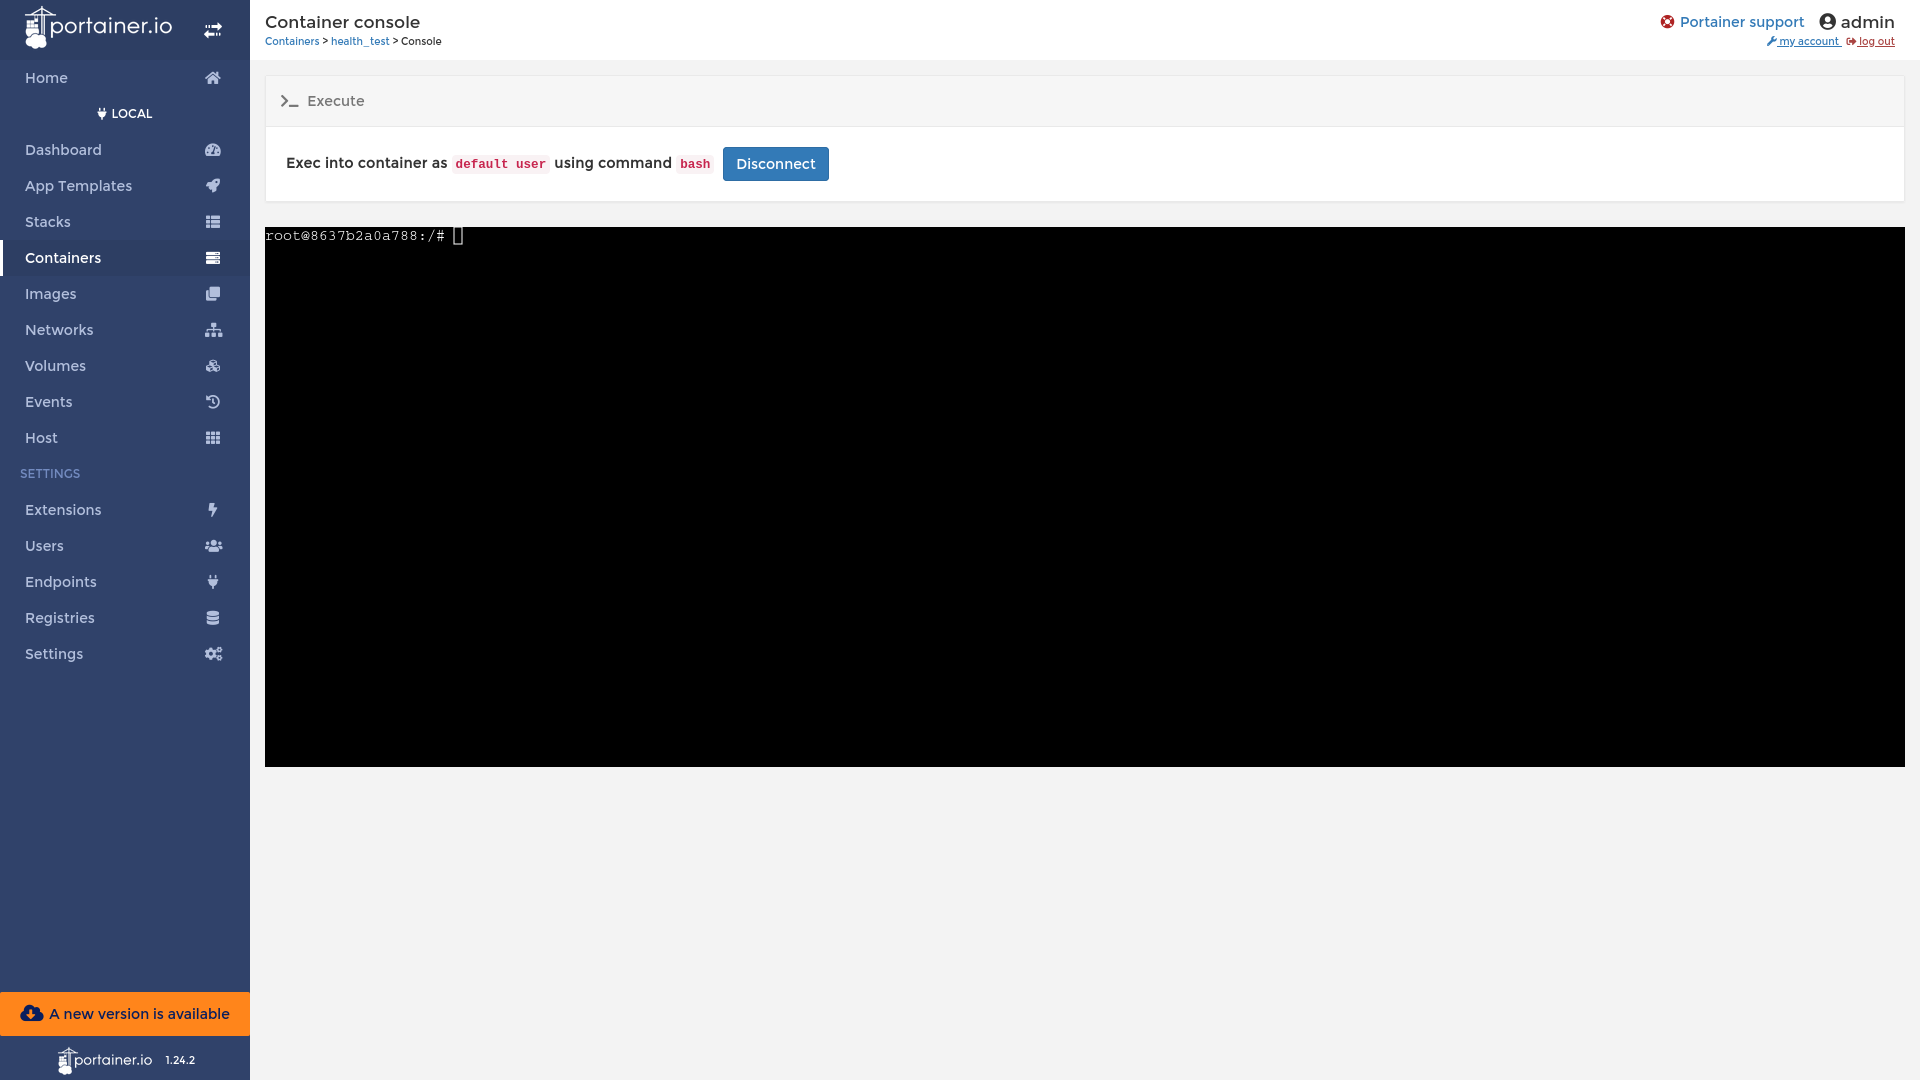
We type the command ps aux and see bash Process with PID 1, this tells us that currently we’re inside the Container.

Then to break out of the Container, we change our directory to /host and chroot into it and to confirm that We’ve successfully broken out of the container, we type ps aux and see that systemd has PID 1. Which confirms that we’ve broken out of the Container into the Host Machine
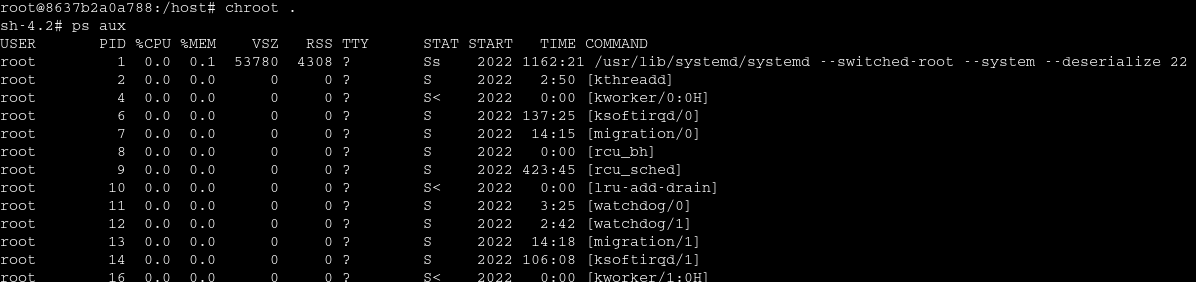
The chroot command usage is to change root directory to the supplied directory for the current running process and its children, so when we ran chroot in the /host directory where the Host was mounted, then it changed the root directory to host and hence broke out of the docker container.
Next we check that we can login as root via ssh using the following command
|
|
If not then we set it to yes.

Next we generate a Public-Private Key Pair with the following command on our machine
|
|
Then paste the Public Key File to the /root/.ssh/authorized_keys of the Target Machine.
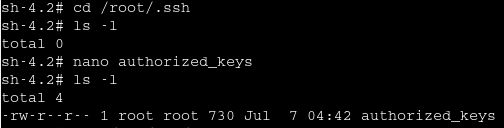
After all this, now we’ll be able to ssh to the Target Machine with root user.

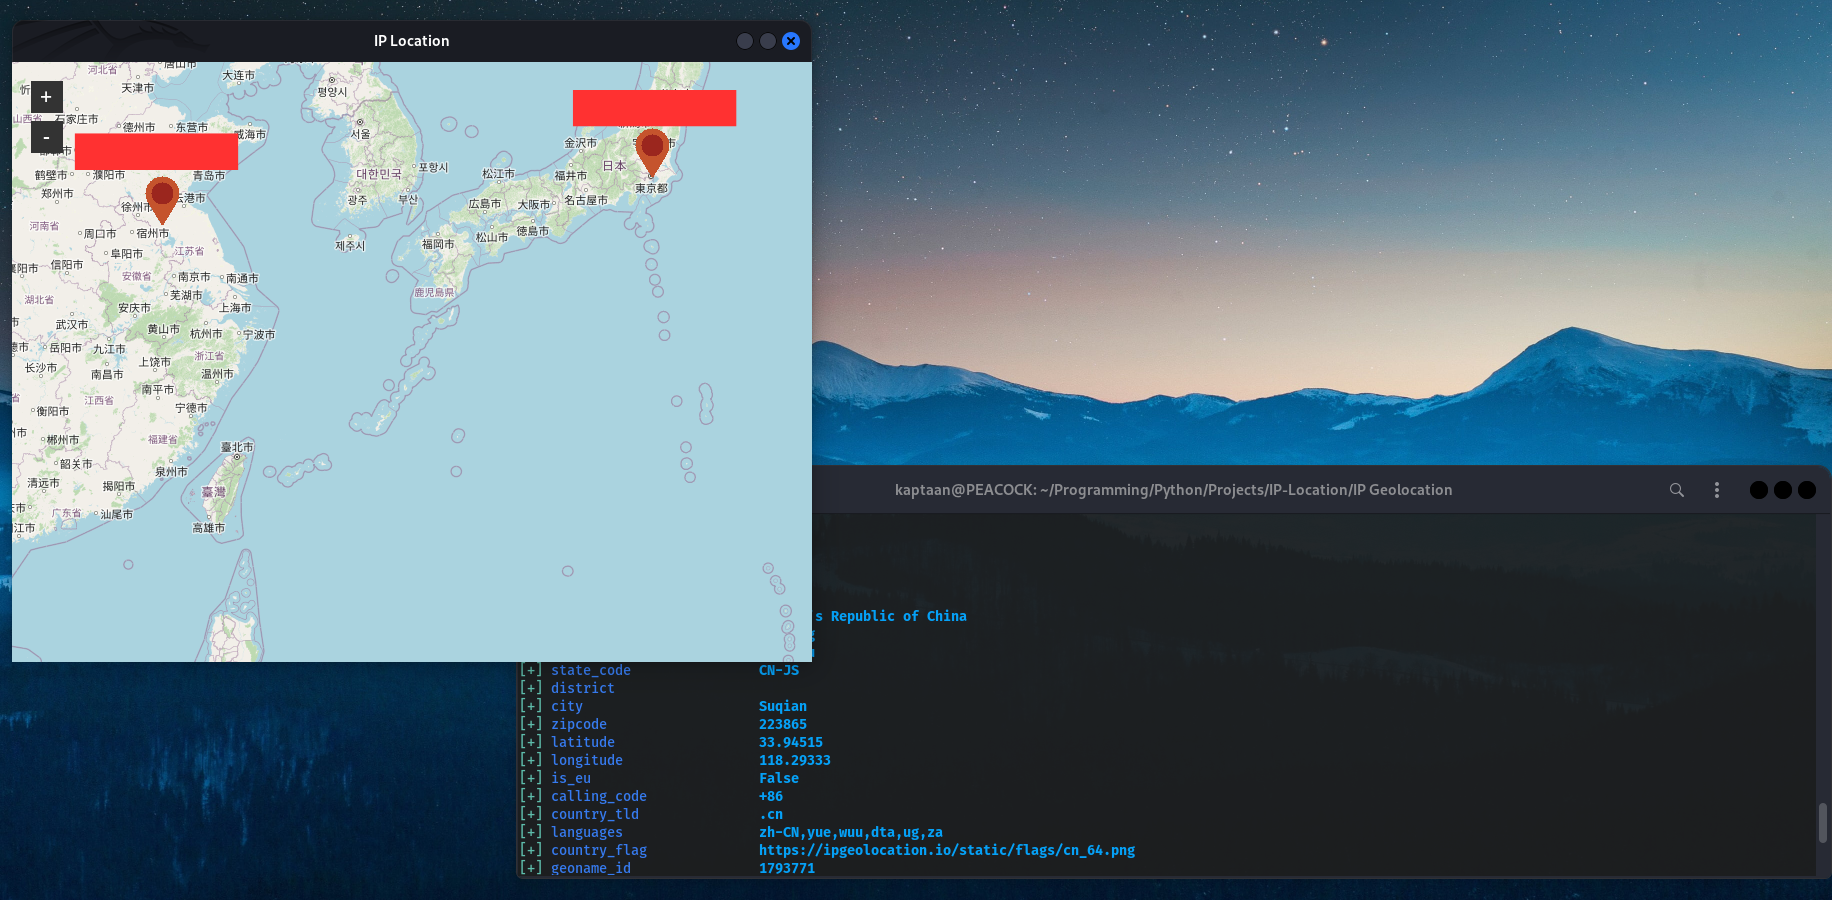
We can further more Geolocate the IP Addresses using Gill-Singh-A/IP-Location to get an approximate location of the Devices (although it may not always be correct)
We can use the Compromised Devices for Cluster Computing after gaining basic information about their Processing Power, Memory, Space, etc

Mitigations
In this blog we saw that how easy it was to gain remote root access to a Device that was using misconfigured Portainer Web Interface (exposed to internet, using weak credentials) in several ways.
To avoid getting your Device compromised, you should take the following steps:
- Make sure that Portainer Interface is not exposed to the Internet
- Not using Default/Weak Credentials
- Setting up Proper Firewall Rules
- Keeping the Software/Firmware up to date, to avoid any CVEs present in the device that could be exploited
Note
The Above mentioned points doesn’t Guarantee 100% protection, they only enhance the security
Checking Leaked Passwords
There are several websites you can use to check whether the password that you’re using has been leaked somewhere online or not. Here are some popular ones:
- Have I Been Pwned: Check if your email or phone is in a data breach
- Dehashed: Free deep-web scans and protection against credential leaks
- LeakCheck.io: Make sure your credentials haven’t been compromised
- crackstation.net: Massive pre-computed lookup tables to crack password hashes
- HashKiller: Pre-cracked Hashes, easily searchable
- LeakedPassword: Search across multiple data breaches to see if your pass has been compromised
- BugMeNot: Find and share logins